Garden Design
Planting Spacing Calculator: How Many Plants Do You Need?
Use this planting spacing calculator formula to estimate plants for square or triangular layouts, plan raised beds, and avoid costly spacing mistakes.
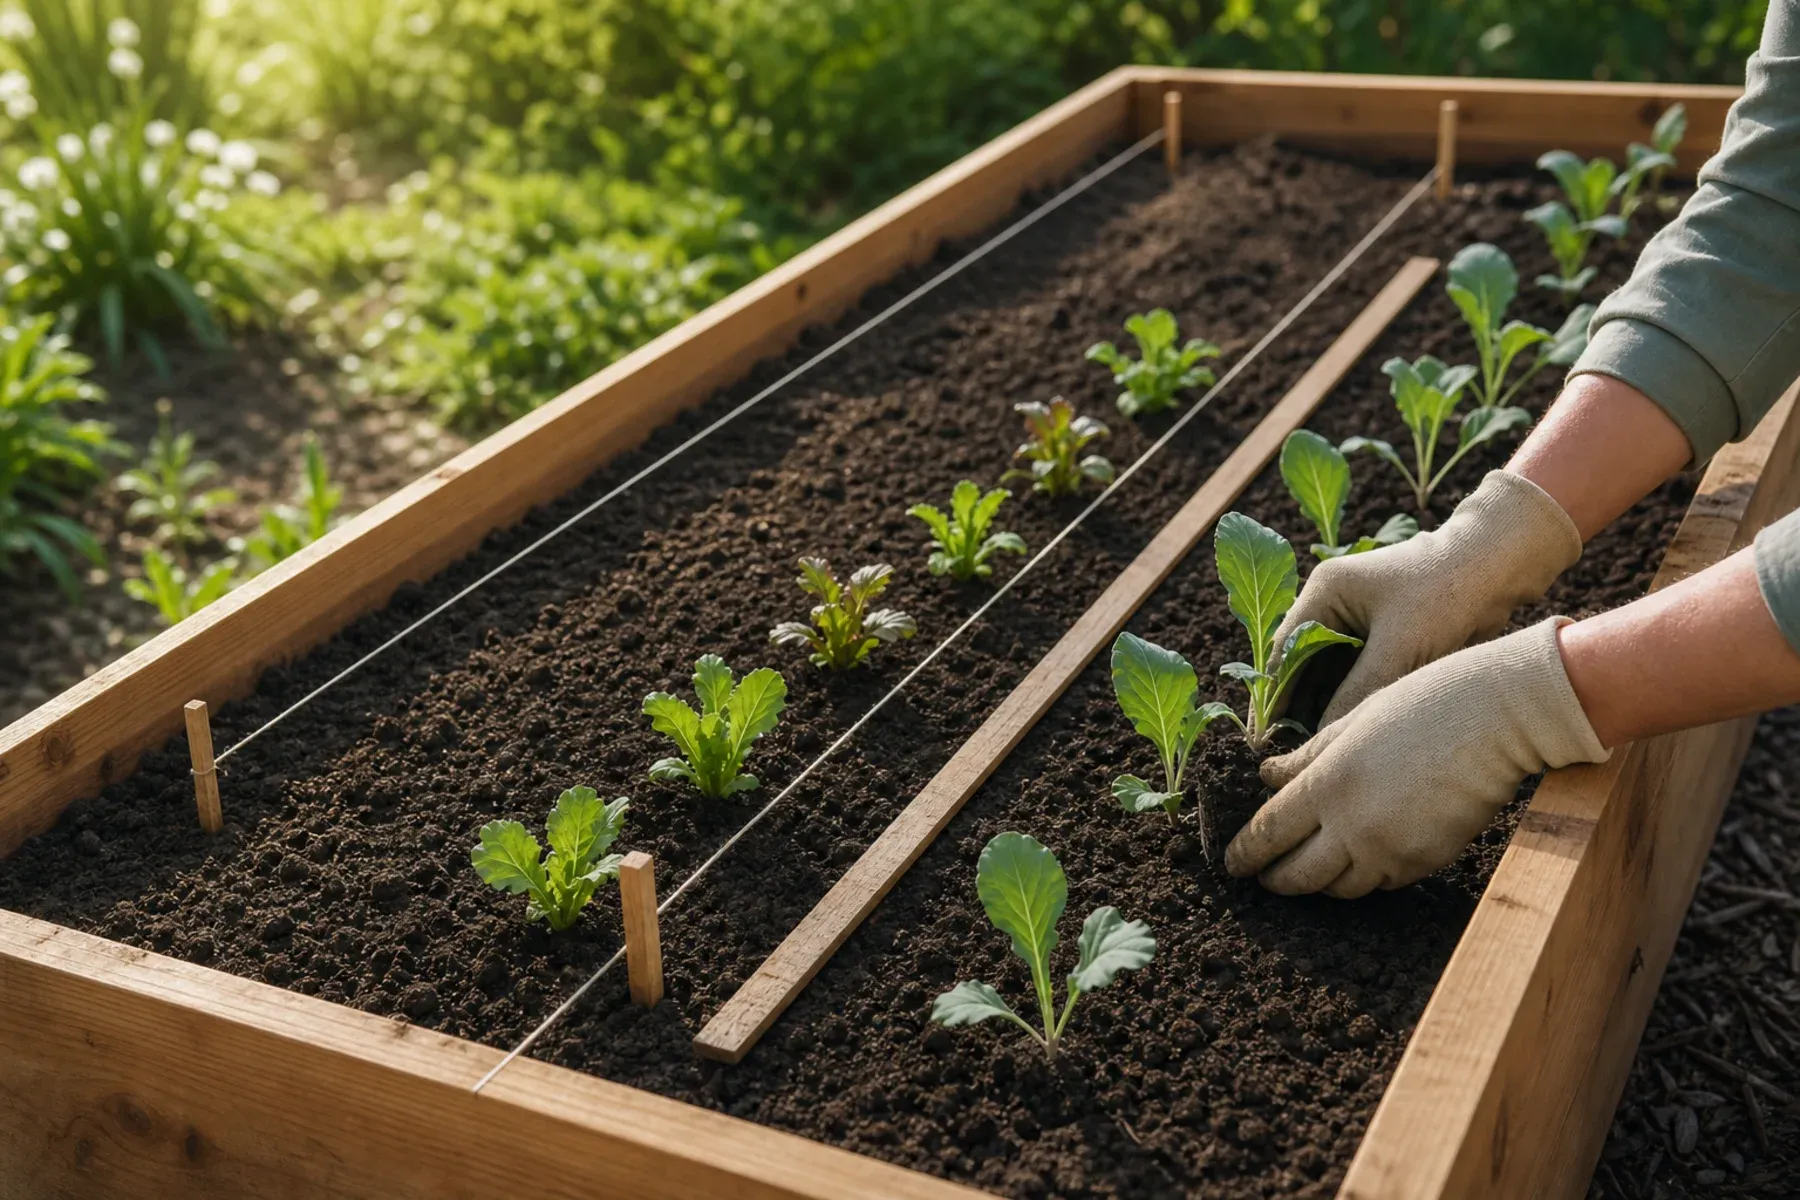
Forty-eight lettuce starts wait beside a new 4-by-8-foot raised bed. Their label calls for 12 inches between plants. The bed looks cavernous, the transplants look tiny, and all 48 seem as if they ought to fit.
The label leaves one practical question unanswered: 12 inches measured from where? Measuring leaf tip to leaf tip changes with every passing breeze and new leaf. Measuring stem center to stem center anchors the bed to a durable geometric pattern.
A planting spacing calculator makes the tradeoff visible before you dig. At 12-inch center-to-center spacing, an 8×4-foot bed holds exactly 32 plants in a standard square grid or up to 36 in an offset triangular pattern. The remaining 12 to 16 starts belong in patio containers or a secondary bed—not crowded into the corners.
Run your bed dimensions through the calculator below. Then read on to see how access alleys, drip lines, edge offsets, and mature canopy spread change that paper estimate into a workable garden plan.
Garden bed worksheet · 01
Calculate your plant count
Enter the usable inside dimensions of one bed, then choose the pattern you plan to mark on the soil.
Square layout in a 32-square-foot bed.
- Usable area
- 32 sq ft
- Area per plant
- 1 sq ft
32 sq ft ÷ 1 sq ft per plant = 32
Planning estimate only. Confirm the spacing for your crop, cultivar, and growing method before planting.
Planting Spacing Calculator: The Core Formulas
Every reliable planting estimate begins with two physical measurements: the soil area roots can actually explore, and the required distance between mature plant crowns.
Start with your usable planted area. Measure inside the bed walls, subtracting pathways, irrigation manifolds, permanent trellis bases, and dedicated working access.
1. Square Grid Layout
Use a square grid when plants line up in uniform rows with equal spacing in both directions:
Plants needed = usable bed area ÷ (spacing)²For example, in a 32 sq ft bed with 1-foot spacing: 32 ÷ (1 × 1) = 32 plants.
2. Rectangular Row Layout
Use rectangular rows when in-row plant spacing differs from the footpaths or maintenance corridors between rows:
Plants needed = usable bed area ÷ (in-row spacing × row-to-row spacing)For example, staking indeterminate tomatoes 1.5 feet apart along rows spaced 3 feet apart: 32 ÷ (1.5 × 3) = 7.1 → 7 plants.
3. Triangular (Staggered) Grid Layout
Use an offset hexagonal or triangular pattern when you want maximum canopy coverage per square foot—common in intensive greens, groundcovers, and drought-tolerant borders:
Plants needed = usable bed area ÷ [(spacing)² × 0.866]The multiplier 0.866 (√3 ÷ 2) accounts for the shorter perpendicular distance between alternating offset rows. For our 32 sq ft bed at 1-foot spacing: 32 ÷ (1 × 1 × 0.866) = 36.95 → 36 plants.
Rule of thumb: Always match your units before dividing. If your bed dimensions are measured in feet and plant tag spacing is given in inches, divide the inches by 12 first. Always round down to the nearest whole plant—a seedling cannot sit halfway in the path.
How the 4×8 Bed Formula Converts to the Garden Bed
Putting the 4×8-foot raised bed through the formula yields 32 square feet of interior surface:
4 ft width × 8 ft length = 32 sq ftAt 12 inches (1.0 ft) between centers:
- Square layout:
32 ÷ (1.0)² = 32 plants(4 rows of 8 plants) - Staggered layout:
32 ÷ (1.0 × 0.866) = 36.9 → 36 plants
While the staggered layout yields roughly 15.5% more harvestable heads, density is only an advantage if you can still reach, weed, and irrigate the bed without bruising leaves.
For standard raised beds, square grids win on daily maintenance. Drip-tape emitter lines run parallel without zig-zagging, and rows remain open for hand-weeding tools. Staggered grids shine when establishing living green mulches or groundcovers where rapid, gap-free canopy closure suppresses weed seeds.
Mark Stem Centers Before Breaking Soil
A calculator provides mathematical capacity; a layout string ensures plants grow where roots have room.
- Confirm interior dimensions: Measure between the inside wooden or stone faces, not the outside perimeter.
- Account for perimeter clearance (edge offset): Plants need root and leaf clearance from warm wooden boards. Set your outer row at least half the plant spacing (e.g., 6 inches for a 12-inch crop) from the interior bed walls.
- Stretch your baseline string: Run a mason’s line down the centerline of row one.
- Mark center points: Stake or flag stem locations at your exact measured interval along the line.
- Set successive row centerlines: For square grids, measure perpendicular at full spacing distance. For staggered patterns, shift alternate row lines sideways by half the plant interval (
spacing ÷ 2) and measure row depth byspacing × 0.866.
Need precise techniques for locating crown centers across multi-stem perennials or woody starts? Read our companion guide: How to Measure Spacing Between Plants Correctly.
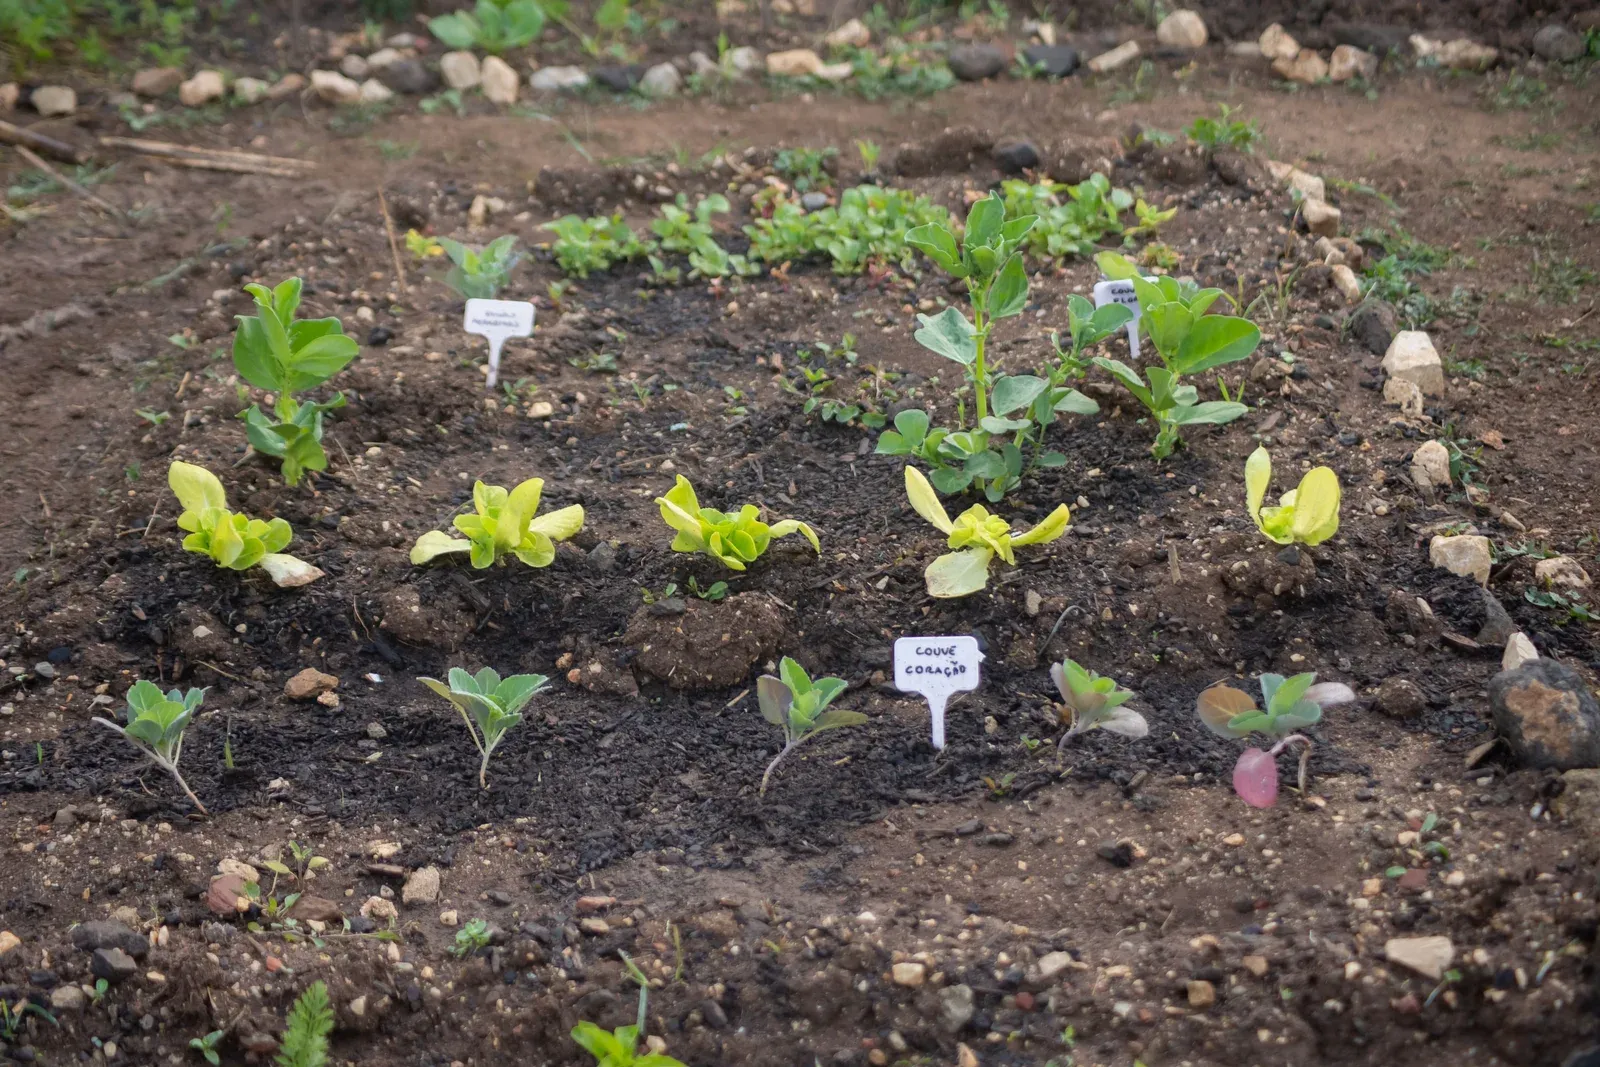
The open soil around young plants is reserved growing room. Photo by Kampus Production on Pexels.
Compare Plant Counts Before You Buy
These estimates show how much the chosen spacing changes a 100-square-foot planting area. Values are rounded down to whole plants.
| Center-to-center spacing | Square grid | Triangular grid |
|---|---|---|
| 6 inches | 400 | 461 |
| 8 inches | 225 | 259 |
| 12 inches | 100 | 115 |
| 18 inches | 44 | 51 |
| 24 inches | 25 | 28 |
The table is not a crop recommendation. Six inches may suit one crop and crowd another. Choose the spacing from reliable plant guidance first; use the table or calculator second.
Choose a Layout the Garden Can Support
The densest layout is not automatically the best layout. The right pattern is the one that preserves the plant’s spacing while fitting the way you water, tend, and harvest the bed.
Square grids keep the work predictable
Straight rows are easy to mark, irrigate, weed, and trellis. They also make missing or struggling plants easy to spot.
That predictability is why the 32-plant square plan suits the lettuce bed. Every center aligns with a row and the irrigation line remains visible.
Staggered grids use area efficiently
A staggered grid fits more centers at the same nearest-neighbor distance. It can work well for a uniform block when access comes from the bed edges.
Do not use the higher count as permission to shrink the labeled spacing. Offset the rows, but preserve the intended distance between neighboring centers.
Separate rows protect different working distances
Vegetable guidance often gives two values:
- In-row spacing: center to center along one row
- Between-row spacing: one row centerline to the next
Carrots may sit close within a row while the row centers remain farther apart. Tomatoes may need different distances depending on cultivar, pruning, and trellising.
When two values are given, use the rectangular-row mode. Entering the smaller value twice may raise the count, but it erases the access or airflow built into the recommendation.
Let Mature Size Challenge the Number
The lettuce starts look small on planting morning. That visual evidence is misleading. The plan must serve the mature plants, not the tray beside the bed.
For flowers, shrubs, and groundcovers, begin with the mature spread of the exact cultivar. A plant listed at 3 feet wide is often planned near 3 feet on center when neighboring canopies should meet.
Published sizes remain ranges. Soil, water, light, climate, and pruning can change the result. When two sources disagree, favor guidance for the exact cultivar and your local growing conditions.
Crowding permanent plants for instant fullness transfers the problem to a later season. Mulch or temporary annuals can fill the early gaps without creating years of pruning and transplanting.
Compare mature spread, light, water, and hardiness in the plant library. Check winter survival with the interactive USDA hardiness zone map.
Test the Estimate Against the Real Bed
Before buying, walk the calculated centers and challenge the number. Each correction should represent a real feature of the garden.
Subtract paths and fixed obstacles
Count only soil that can hold plant centers. A 10-by-12-foot garden with a 2-foot center path does not offer 120 square feet of planted area.
Leave room for the gardener
A mathematically full bed can still be miserable to harvest. Reserve access for plants that need frequent picking, staking, tying, or pest inspection.
Protect airflow and light
Close foliage can stay damp and shade smaller neighbors. Use the wider end of a trusted range when disease pressure, humidity, or an uneven canopy makes crowding risky.
Separate Seeds from Final Transplants
The calculator gives you final mature plant capacity, not the raw number of seeds to sow. Direct-sown crops (such as carrots, radishes, or bush beans) require overseeding by 15% to 30% to account for germination rates, followed by hand-thinning to the final calculated distance once true leaves appear.
Leave Generous Edge Offsets
Do not place the outermost plant centers flush against the bed perimeter. Position outer rows at least half the plant spacing (spacing ÷ 2) away from wooden boards, stone walls, or edging bricks. This provides root development volume, protects foliage from heat radiating off wooden framing, and prevents mature heads from spilling awkwardly into walking paths.
Handle Irregular Beds and Mixed Planting Systems
Irregular and Curved Beds
Break curved borders, kidney beds, or L-shaped garden boxes into simpler geometric components: rectangles, right triangles, and semicircles. Calculate each zone’s square footage individually, subtract pathways and stone dividers, and sum the plantable area. For highly irregular perimeters, use the calculator’s estimate as an upper bound, but rely on a measured string layout to confirm how many whole crowns fit without crowding boundaries.
Mixed Companion Guilds
In a diverse polyculture bed, never average different crop requirements into one meaningless number (e.g., trying to average 24-inch tomatoes with 4-inch radishes). Instead, zone your bed:
- Allocate specific square-foot blocks to each crop family.
- Calculate plant quantities for each zone separately based on its exact light, root, and trellis needs.
- Assemble the zones with taller vertical climbers (tomatoes, pole beans) sited on the northern or eastern perimeter so they do not shade low-growing greens.
Frequently Asked Questions
Should I round planting quantity estimates up or down?
Always round down for your initial purchase or seed start count. A geometric formula treats soil as continuous square footage, but real plant crowns cannot straddle paths or wooden bed frames. Stake your measured centers first; purchase extra plants only if boundary clearances comfortably accommodate another full center.
Is triangular (staggered) spacing always better than square spacing?
No. Staggered spacing increases plant density by approximately 15.5% at identical nearest-neighbor spacing, making it ideal for continuous groundcovers, erosion blankets, and massed flower borders where rapid canopy closure suppresses weeds. However, square layouts remain superior for vegetable gardens and cut-flower beds because parallel rows simplify drip-tape installation, hand-weeding, and harvest pathways.
Can I use this calculator for perennial shrubs and trees?
Yes. Enter the mature crown spread of the specific cultivar as your center-to-center spacing. For privacy hedges where branches should touch, space plants at mature spread. For standalone specimens or grouped shrubs where individual silhouettes should remain distinct, add 1 to 2 feet of buffer between canopies. Check mature dimensions in our plant catalog and confirm cold hardiness using our interactive USDA hardiness zone map.
What should I do when seed packets and university guides suggest different spacings?
Seed packets often provide generalized commercial field row recommendations designed for tractor cultivation. University Cooperative Extension guides typically offer both high-density raised bed guidelines and wide-row configurations. In raised beds with amended, loose soil, use the closer intensive spacing; in native garden soil with heavy clay or high summer fungal pressure, use the wider recommendation to ensure adequate airflow.
Give Every Plant Its Summer Space
On planting morning, the 32 lettuce centers look sparse. Sixteen starts remain in their tray, but the marked grid keeps the gardener from solving that problem by crowding the bed.
The extras move to containers. The square rows receive water evenly, and every plant remains reachable from the path.
Weeks later, leaves cover the soil that once looked wasted. The calculator did not make the bed larger. It made the decision honest before the first hole was dug.
That is the value of a planting spacing calculator: not finding the maximum number that fits on paper, but choosing the number the real garden can support.
Sources and Further Reading
- Alabama Cooperative Extension: Determining How Many Plants You Need
- University of Georgia Extension: Conversion Tables, Formulas and Suggested Guidelines for Horticultural Use
- UF/IFAS: Landscape Design—Drawing a Planting Plan
- Utah State University Extension: Home Vegetable Garden Variety Recommendations
- University of Minnesota Extension: Crop and Field Planning Tools for Vegetable Farmers
- UF/IFAS Gardening Solutions: Plant Placement