Beginner Guides
How to Measure Spacing Between Plants Correctly
Learn how to measure spacing between plants center to center, mark accurate rows, interpret seed packets, and allow for thinning and mature growth.
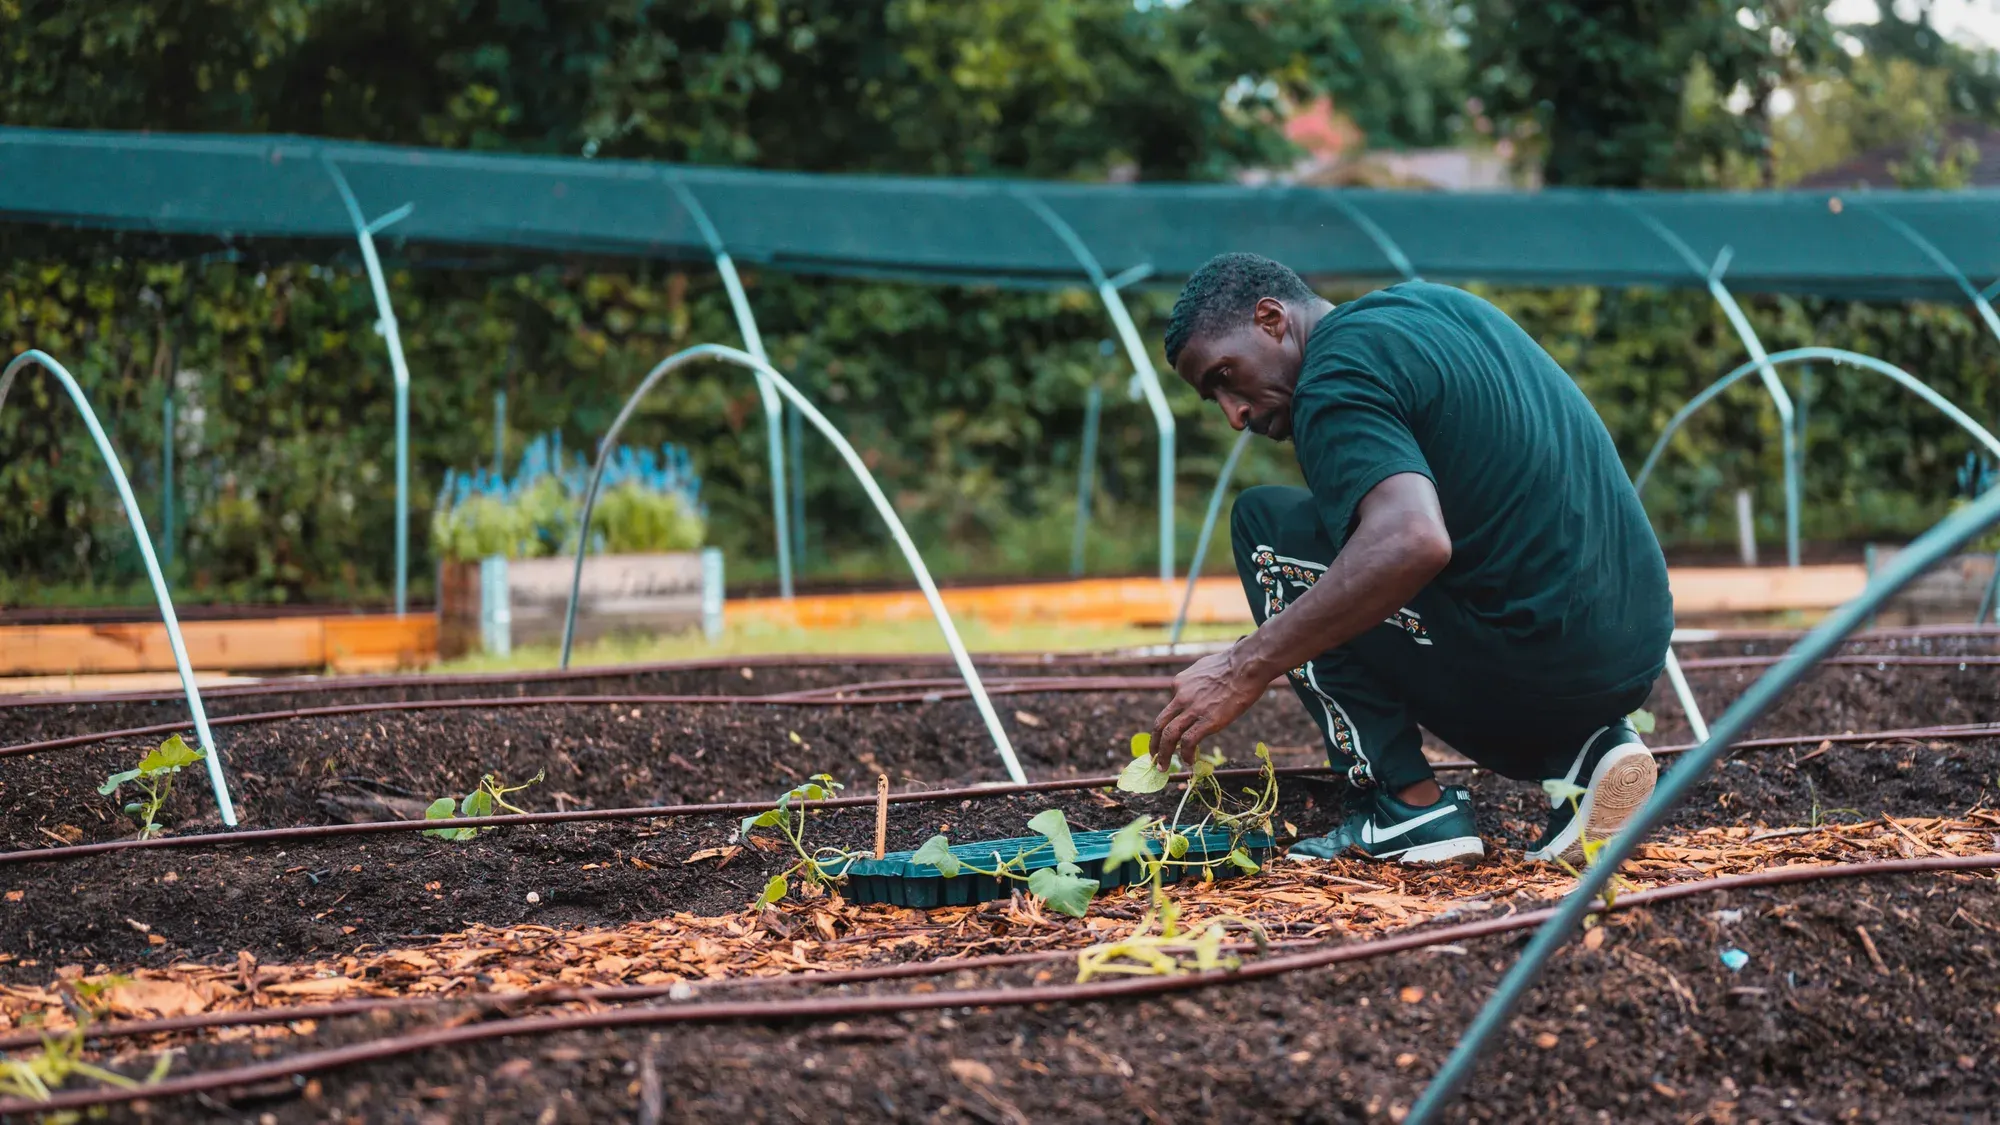
You set two young plants on the soil and hook the tape against the outside leaves. The gap reads 6 inches. Then you move the tape to the stems, and the same plants are 12 inches apart.
Only one measurement will still mean the same thing after the leaves grow. Plant spacing is measured between fixed centers, not changing edges.
If you are learning how to measure spacing between plants, hold the zero mark at the center of one stem, crown, trunk, or planting hole. Read the tape at the center of the next.
The short answer: plant spacing is center to center. In rows, record the distance between plants and the distance between row centerlines as two separate measurements.
Once the spacing is known, use the planting spacing calculator to estimate how many centers fit in the usable bed.
Find the Center That Will Stay Put
Center-to-center, sometimes written on center, describes the distance between fixed planting points.
UF/IFAS Extension defines on-center spacing as the distance from one plant center to the next.
Choose the center that matches the plant:
- Seed or empty hole: the point where the final plant will grow
- Single-stem transplant: the center of the main stem at soil level
- Crown-forming perennial: the center of the crown
- Shrub or tree: the center of the main stem or trunk
- Clump-forming plant: the center of the whole crown, not an outside shoot
For established shrubs and trees, UF/IFAS gives the same field rule: measure from the center stem or trunk to the center of its neighbor.
Leaf tips and pot edges do not work as centers. They move as the plant grows, bends, or is pruned. A stem, crown, trunk, or marked hole gives you a repeatable point.
Choose the Final Spacing Before Marking the Bed
The number on a packet is useful only when you know what stage and growing method it describes.
Use this order of preference:
- A cultivar-specific packet or label that clearly states final spacing
- Local Cooperative Extension guidance for that crop and method
- A general range adjusted for mature size and local conditions
Utah State University Extension notes that cultivar, growth habit, irrigation, equipment, and production method can change plant and row spacing.
Now gather a tape or ruler, two stakes, non-stretch string, planting markers, and a bed sketch. Illinois Extension recommends string and a ruler for laying out rows.
Mark One New Bed from Start to Finish
The plants are still waiting beside the bed. Mark the whole pattern before digging so each hole follows the same decision.
1. Define the usable planting area
Measure only soil that can hold plant centers. Mark paths, stepping areas, permanent plants, trellis posts, irrigation hardware, and any edge reserved for access.
Paths are not leftover space. Washington State University Extension recommends planned walking room so gardeners avoid compacting beds and crop rows.
2. Stretch the first row centerline
Place one stake at each end of the row and pull the string taut. The string is the row centerline, not the edge of the foliage.
University of Georgia Extension recommends a cord for marking straight garden rows.
3. Choose the first planting center
The bed wall is not another plant center. Place the first mark with room for mature spread, watering, and access.
If you want a balanced pattern, adjust the starting offset so the unused space is shared between both ends. Do not force a partial final interval against the frame.
4. Repeat the interval along the string
For 12-inch spacing, mark the string at 0, 12, 24, and 36 inches. Each mark is a future stem or crown location.
Keep the tape straight and level. A tape that bows around foliage or crosses the soil diagonally gives a longer reading.
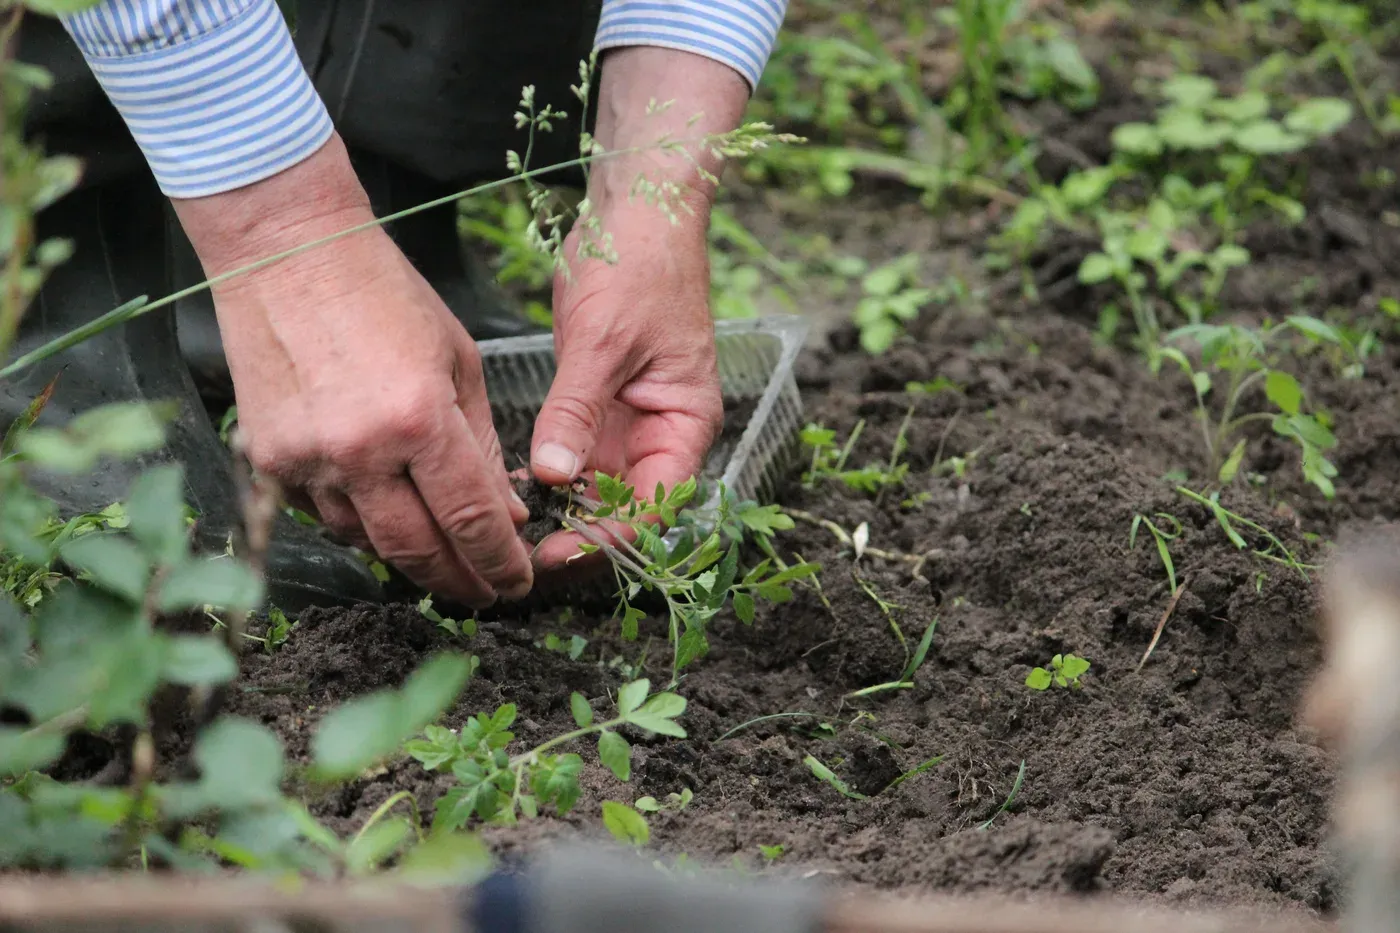
Mark every center before digging. Photo by Natalia Sevruk on Pexels.
5. Move to the next row centerline
Measure the published between-row distance from the first string to the next. Move the stakes, pull the string taut, and mark the new row.
For a staggered pattern, offset every other row by half the in-row spacing. Preserve the intended diagonal distance between neighboring plant centers.
The marks may look too far apart while the plants are small. Leave them. The open soil belongs to the mature planting.
Read Plant and Row Spacing as Two Decisions
An instruction such as “8 inches apart in rows 18 inches apart” contains two measurements.
| Label instruction | What to measure |
|---|---|
| 8 inches between plants | Center to center along the row |
| 18 inches between rows | One row centerline to the next |
Do not average these values or repeat the smaller one in both directions. The wider row may preserve access, airflow, irrigation, cultivation, or harvest space.
Utah State’s brassica guidance publishes “within rows” and “between rows” as distinct values.
Enter both numbers in the separate-row mode of the calculator. That keeps the estimate tied to the actual layout.
Separate Seed Sowing from Final Plant Spacing
Seed packets may describe several stages. Read the words around each number.
| Packet wording | What it usually controls |
|---|---|
| Sow every 1 inch | Initial seed placement before thinning |
| Thin to 4 inches | Final spacing of surviving plant centers |
| Plants 12 inches apart | Final spacing, as clarified by the full instruction |
| Rows 24 inches apart | Row centerline to row centerline |
The number of seeds placed is not always the number of plants that remain.
UGA Extension advises sowing somewhat thicker than the desired stand, then thinning before the surviving plants become crowded.
Thinning timing is crop-specific. Use the packet’s sowing guidance for seed quantity, but use the final post-thinning distance when marking mature plant centers.
Check Spacing in an Existing Bed
The same center rule works after planting:
- Find the center stem, crown, or trunk of the first plant.
- Hold the tape’s zero mark at that point.
- Run the tape directly to the neighboring center.
- Record the distance before moving to the next pair.
- Measure row centerlines separately.
Ignore leaves and branches crossing the tape. For an expanded clump, use the center of the whole crown rather than the newest outside shoot.
One uneven gap does not always justify moving a plant. Check the full pattern, mature spread, airflow, and access before correcting a single interval.
Let Mature Growth Test the Measurement
A nursery pot shows the plant today. Your spacing must serve the plant it will become.
For ornamentals, use the mature width of the named cultivar. UF/IFAS draws plants as circles with the diameter of their mature spread, so neighboring canopies meet as the plan fills in.
Cultivars of the same species can mature at different sizes. Check the full plant name instead of relying on a broad common name.
Compare mature spread and growing needs in the plant library. Then confirm the distance with a plant label or local Extension source.
Tighter spacing is not always better. Utah State’s leafy-green guidance links adequate spacing with air movement and distinguishes baby-leaf crops from full heads.
Growing method matters too.
University of Minnesota Extension uses different row assumptions for trellised and non-trellised cucumbers.
Correct the Mistakes That Change the Plan
The leaves are being used as endpoints
Move the tape to the stems or crowns. Foliage is a changing boundary; the plant center is fixed.
The pot edge is being used as the plant edge
Ignore the container diameter. Use the center stem or crown, then plan for the cultivar’s mature width.
A path is included in the planted area
Mark access space before laying out centers. The full garden footprint and the usable planting area are different measurements.
The tightest recommendation was chosen automatically
Check harvest size, airflow, trellising, irrigation, cultivar, and disease pressure. Choose the distance for the real growing method, not the one that produces the highest count.
Frequently Asked Questions
Does “12 inches apart” mean a 12-inch empty gap?
No. It means the plant centers are 12 inches apart. The visible leaf gap will shrink as the plants grow.
Where should the first plant go near a raised-bed edge?
Place its center with enough room for mature spread, watering, and access. Balance the remaining space rather than forcing an extra plant into an incomplete interval.
Should spacing be measured before or after thinning?
Plan mature positions with the final post-thinning distance. Use the packet’s separate sowing directions to decide how many seeds to place.
Can plants be closer together in a staggered layout?
The offset changes how centers fit into the bed. It does not erase the recommended distance between neighboring centers.
Mark the Centers, Then Make the Count
The string is straight. The marks are farther apart than the little plants seem to need. This is the moment when accurate spacing asks the gardener to trust the mature plan over the nearly empty bed.
Dig at the marks. Keep the row centerlines intact. What looked like unused soil now has a purpose: it carries future leaves, roots, airflow, and access.
With those decisions made, quantity becomes simple. Open the planting spacing calculator and enter the usable bed dimensions and final spacing.
The tape decides where each plant belongs. The calculator tells you how many of those honest positions fit.
Sources and Photo Credits
- UF/IFAS Extension: Landscape Design—Drawing a Planting Plan
- UF/IFAS Extension: Edible Ornamental Landscaping Guide for North-Central Florida
- University of Georgia Extension: Home Gardening
- Illinois Extension: Get Your Tools
- Utah State University Extension: Planting, Spacing, and Thinning
- Utah State University Extension: Planting and Spacing for Leafy Greens
- Washington State University Extension: How to Give My Plants Space to Grow
- University of Minnesota Extension: Crop and Field Planning Tools
- Hero photo by Alfo Medeiros on Pexels